Data Encryption Tool
danger
This tool should be used only on the COPY OF DATABASE. Because after processing data there is no way to reverse data changes back.
Usage
Encrypts confidential business information to protect it when working with partners. Typical confidential information: personal information (contacts), contracts, business secrets.
Users
Dynamics Partners.
Download
Download Encryption Tool v1.02 for Classic (up to 2009 R2) version from here
Download Encryption Tool v1.02 for RTC (2009 R2 and later) version from here
Steps
note
Note: Data Encryption Tool works on Dynamics NAV versions starting from NAV2009 R2. Older versions are not supported.
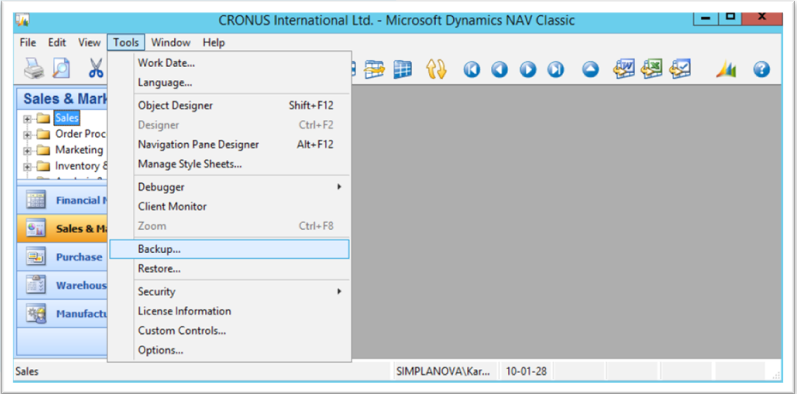
Step 1
Create a backup of the database which needs encryption. (Within Classic client: Tools > Backup, otherwise you need to use Microsoft SQL Server Management Studio).
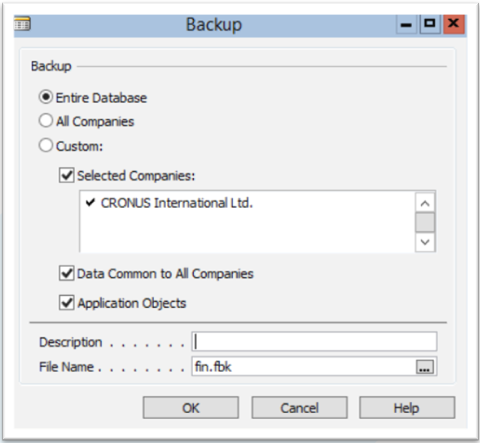
Choose backup options in Backup window: select file location and add file name( where backup file will be stored). Push OK after all required values are entered or selected.
Step 2
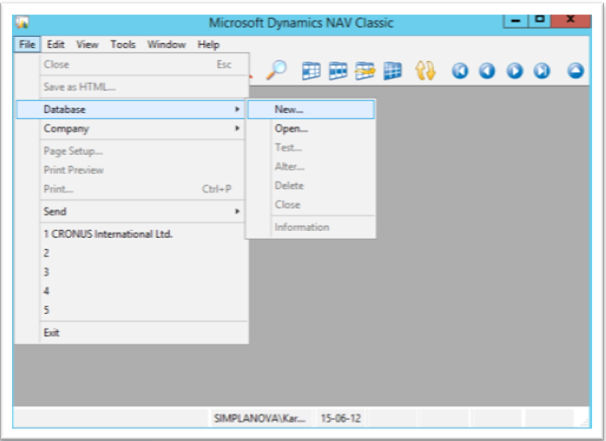
You can create New database with NAV:
Open Microsoft Dynamics NAV Development Environment.
Go to File menu.
Select Database menu from drop down list.
Select New action from drop down list.
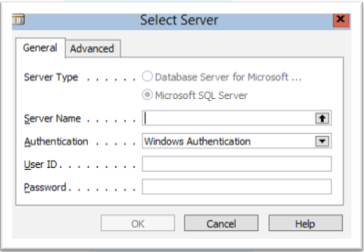
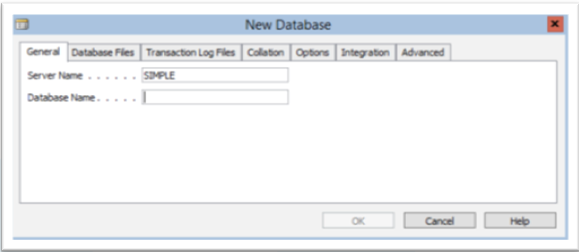
Enter Server Name and other values in Select Server Window. Push OK after all required values are entered or selected.
Enter or select values in New Database window, e.g. General tab -> Database Name, Collation tab -> uncheck Validate Collation property, select Collation Description value according to your region language and etc. Push OK after all required values are entered or selected.
Step 3
Restore client NAV database to newly created database. Follow these steps:
Open newly created database with Microsoft Dynamics NAV Development Environment.
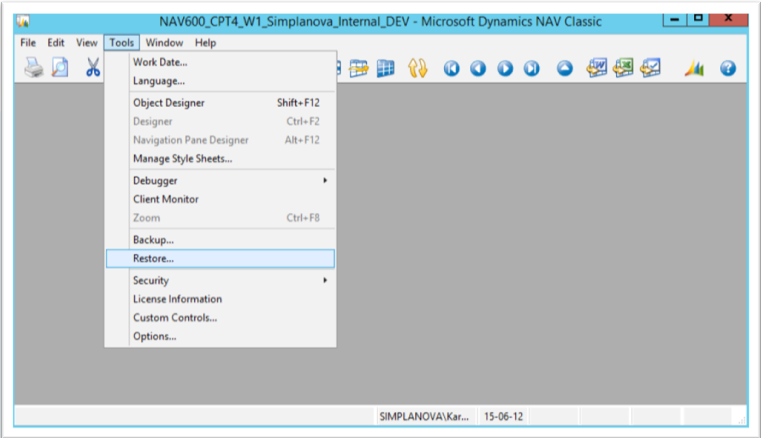
Go to Tools menu.
Select Restore action from drop down list.
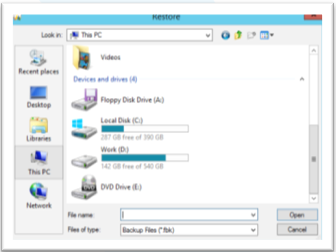
Find and select client database backup file in file selection window. Push Open after file is selected.
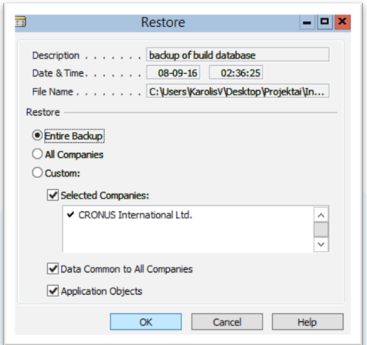
Select database restore options in Restore window. Push OK after all required values are selected.
Step 4
Import Data Encryption Tool to the Database copy. Depending on the NAV version select Classic or RTC .fob file.
Follow these steps:
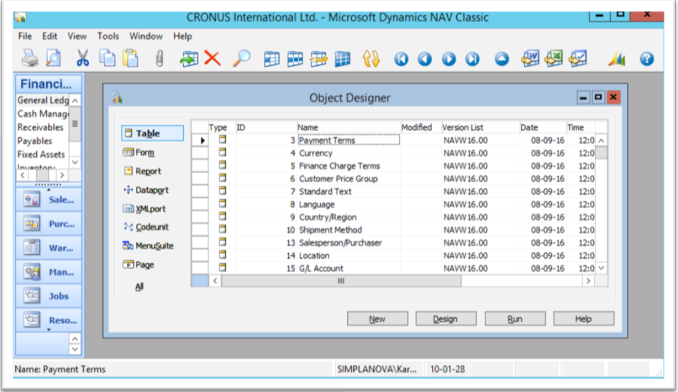
Open newly restored client database on Microsoft Dynamics NAV Development Environment.
Open object designer (shortcut key Shitt+F12 or go to Tools –> Object Designer).
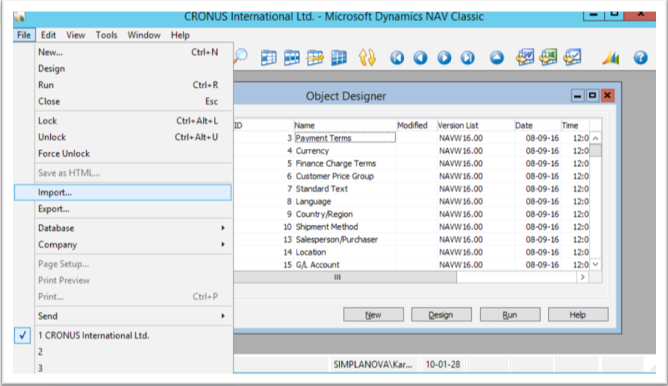
Go to File menu.
Select Import action from drop down list.
Find and select Data Encryption Tool objects (
*.fob) file. Push Open after file is selected.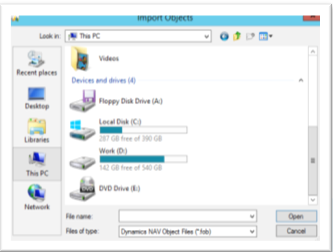
Push “Yes” and wait for objects import process to be finished.
Close and reopen restored client database with Microsoft Dynamics NAV Development Environment.
Step 5
Setup Data Encryption Tool with Encryption Setup page (ID - 79000).
Follow these steps to prepare Data Encryption Tool:
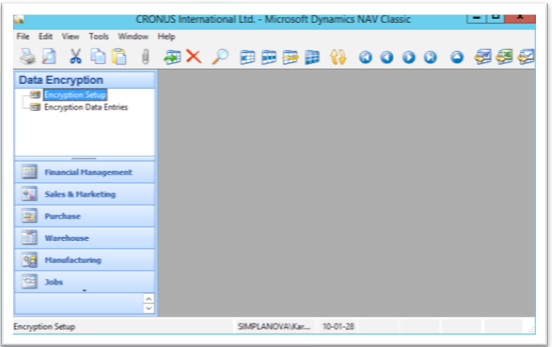
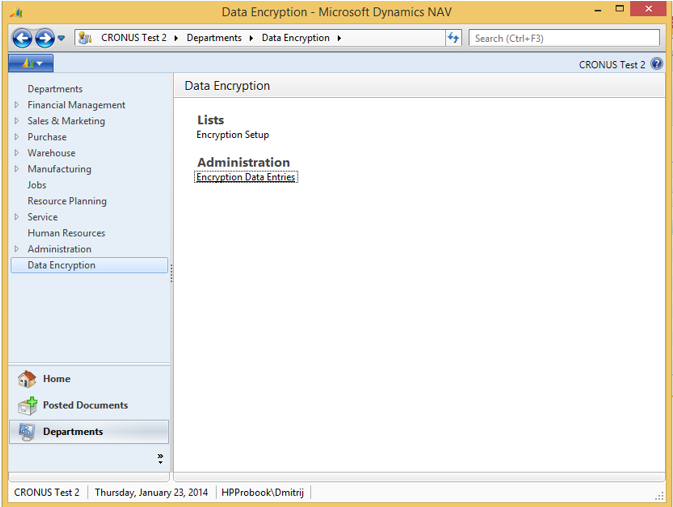
Go to Data Encryption department menu in Navigation Pane.
Select Encryption Setup.
In Microsoft Dynamics NAV Classic Client 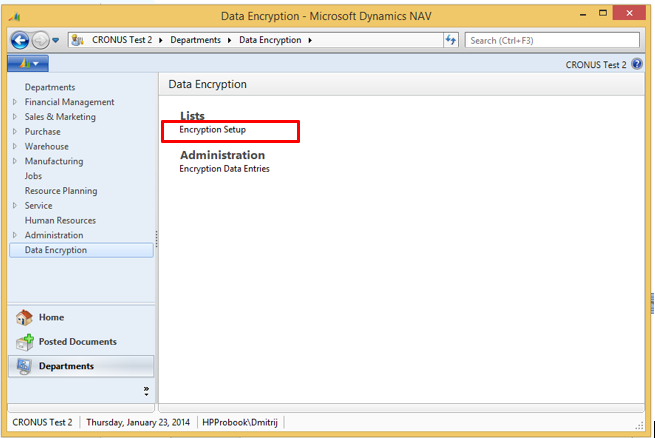
In Microsoft Dynamics NAV Role Tailored Client Check Database is a copy checkbox in Encryption Setup.
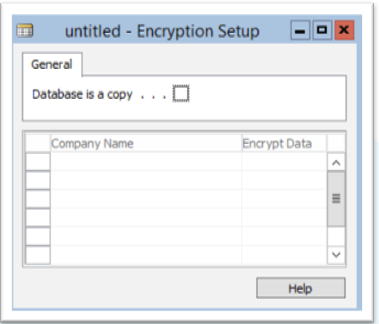
In Microsoft Dynamics NAV Classic Client 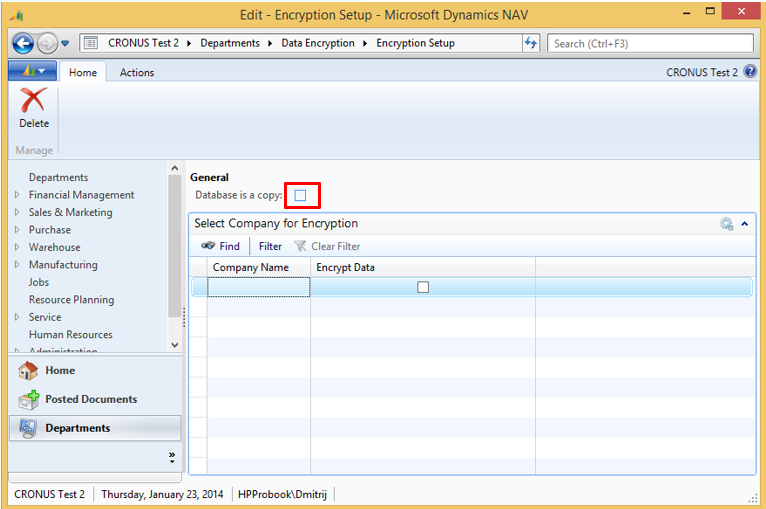
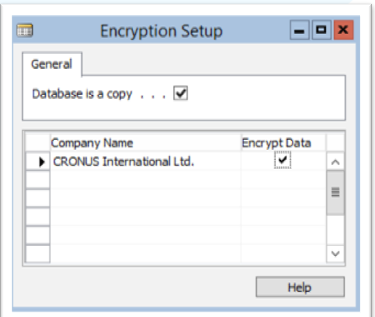
In Microsoft Dynamics NAV Role Tailored Client Existing database companies will be displayed in Encryption Setup subform/subpage. Check Encrypt Data checkbox for all companies which data should be encrypted. Close Encryption Setup.
In Microsoft Dynamics NAV Classic Client 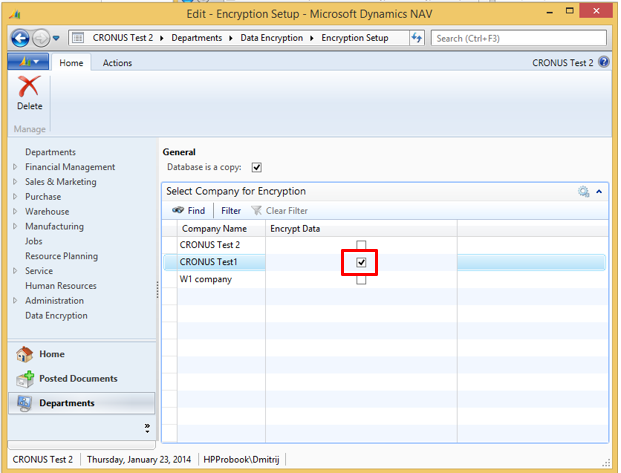
In Microsoft Dynamics NAV Role Tailored Client
Step 6
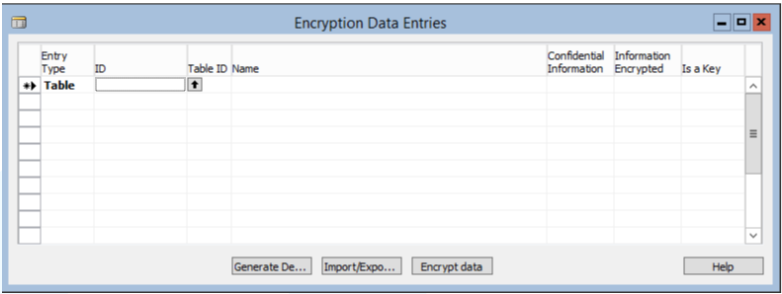
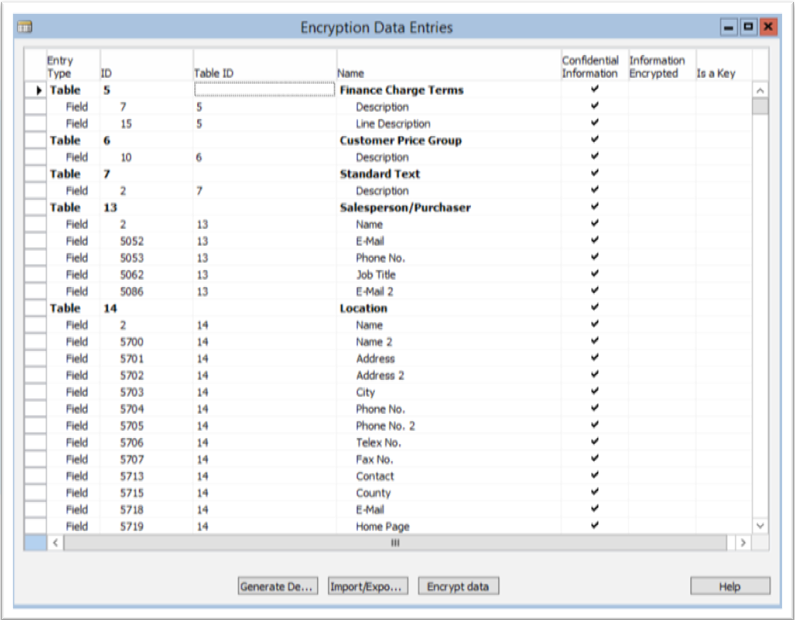
In page Encryption Data Entries (ID - 79001) specify which tables and fields should be encrypted.
danger
It is not recommended to encrypt table primary key fields data.
- Open Encryption Data Entries from department menu Data Encryption.
 |
|---|
| In Microsoft Dynamics NAV Classic Client |
 |
|---|
| In Microsoft Dynamics NAV Role Tailored Client |
Choose one of three ways to enter and edit Encryption Data Entries:
- Enter all tables and table fields manually:
- Entry type – choose table or field.
- ID – select table or field depending on chosen Entry type.
- Confidential Information – check for fields which should be encrypted.
- Push Generate Default Entries. It will generate related entries by rules created by Simplanova. You can adjust new data manually after it is generated.
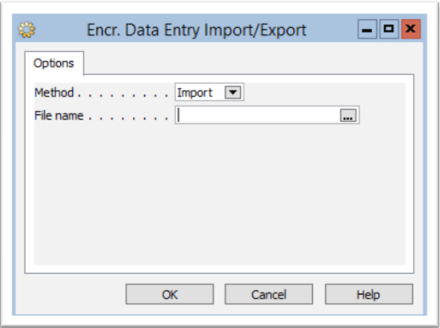
- Import/export Encryption Data Entries data form/to
*.xmlfile by using Import/Export Data Encryption Setup action. Select required values in opened window:- Method – import or export.
- File name – file name for data import or export.
- Push OK.
In Microsoft Dynamics NAV Classic Client 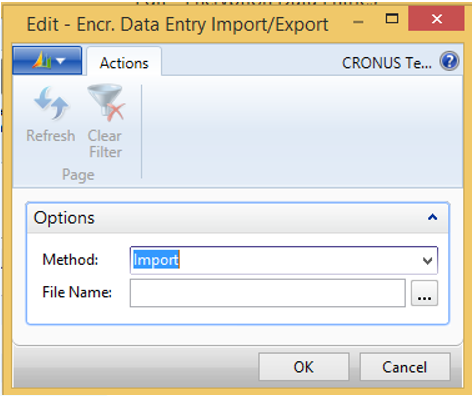
In Microsoft Dynamics NAV Role Tailored Client note
Before generating or importing Encryption Data Entries all existing records will be deleted.
- Enter all tables and table fields manually:
Step 7 – Launch Data Encryption Process
To begin the encryption process, use the action Encrypt data in the same page.
Follow these Steps:
Push Encrypt data after Encryption Data Entries are added and configured.
In Microsoft Dynamics NAV Classic Client 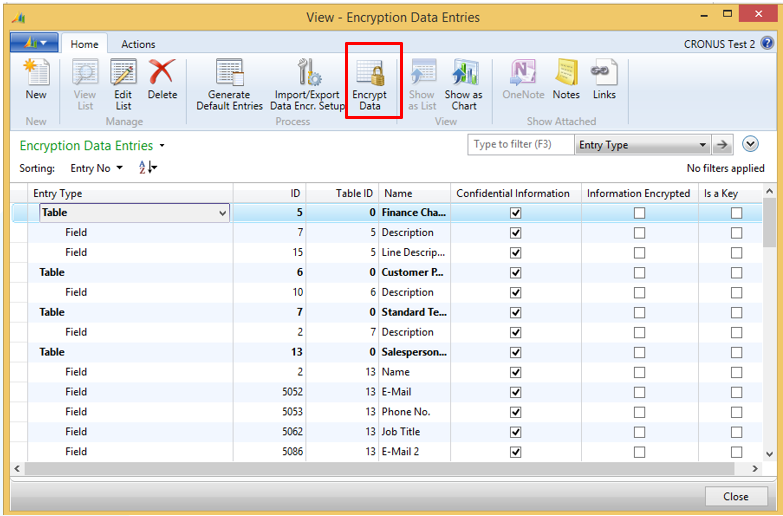
In Microsoft Dynamics NAV Role Tailored Client Wait for data encryption process to be finished.
Step 8
Backup the database once again. This version is suitable for testing and can be sent to partners.