Setup
To start using the portal, you’d first need to add your customers and grant the portal access to read and write data via APIs. This is done in 4 steps:
1. Add customers
a) Add one customer
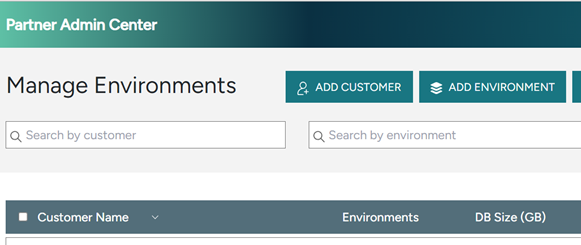
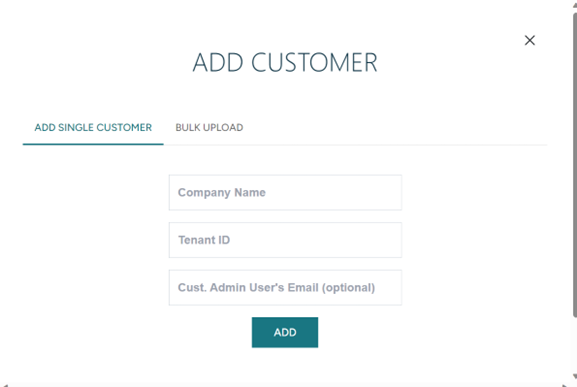
Press Add Customer button, select “Add Single Customer”.
- Company name - Enter Customer’s Company name which will help you identify the customer.
- Tenant ID - Enter Customer’s Tenant ID.
- Cust. Admin User’s Email - you may also enter Customer’s administrator’s user’s email address. This would be later used if you’d choose to use the built-in email function to request customer’s permissions for the portal.
b) Bulk add customers
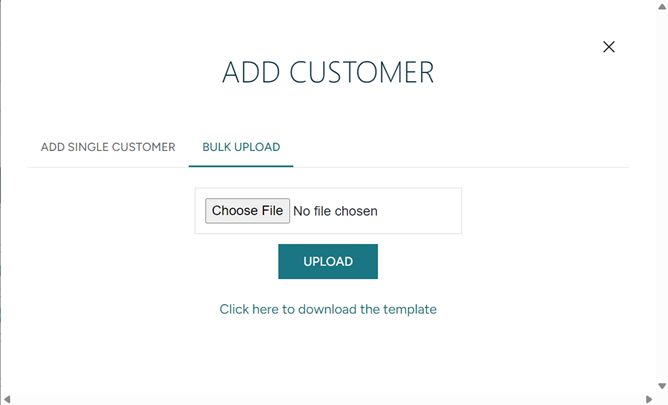
- Press Add Customer button, select “Bulk Upload” tab.
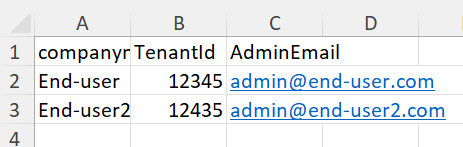
- Download the Excel template and fill-in the columns with your customer information:
- companyname - enter Customer’s Company name which will help you identify the customer.
- TenantId - Enter Customer’s Tenant ID.
- AdminEmail (optional) - you may also enter Customer’s administrator user’s email address. This would be later used if you’d choose to use the built-in email function to request customer’s permissions for the portal.
- Upload the filled-in Excel template. Refresh page after adding the file to see the changes.
2. Authorize Microsoft Entra App

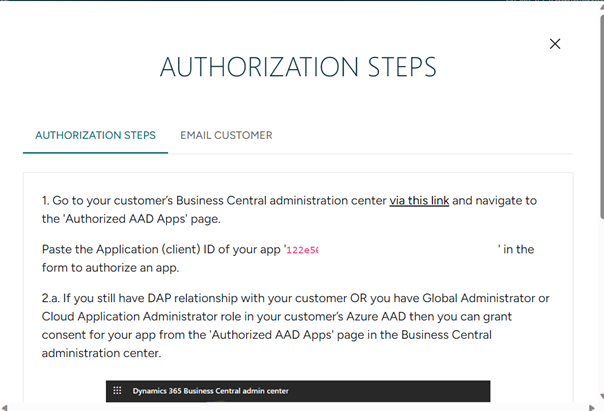
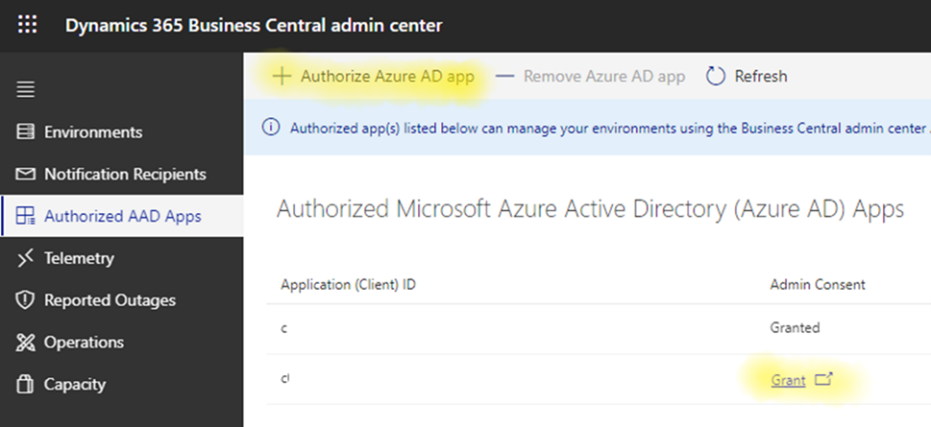
This portal creates you a unique Microsoft Entra (prev. known as Azure AD) app under its tenant. You can find the ID of this Microsoft Entra app under the Authorization Steps page. This portal uses the Microsoft Entra app to make API calls to your customers’ tenants. It is not possible to authorize all customers at once, you will have to manually authorize Microsoft Entra app by following the instructions in Authorize page. The instructions will ask you to navigate to customer’s Business Central Admin Center and authorize the Microsoft Entra App.
important
To authorize a Microsoft Entra app in customer’s tenant, you must have a Dynamics 365 Administrator or Cloud Application Administrator role in your customer’s tenant. If you don’t have any of these roles, you will have to ask your customer’s administrator to add your Microsoft Entra app in their Business Central Admin Center.
3. Grant Admin Consent
The final step is to grant admin consent to the added Microsoft Entra App. You will have to grant consent to each customer individually.
- a) If you still have DAP relationship with your customer OR you have Global Administrator or Cloud Application Administrator role in your customer’s Microsoft Entra then you can grant consent for your app from the 'Authorized Microsoft Entra Apps' page in the Business Central administration center.
- b) If you don’t have the right permissions for granting admin consent, please share the URL from customer’s Authorization Steps page and ask Customer’s administrator to grant consent via the URL.
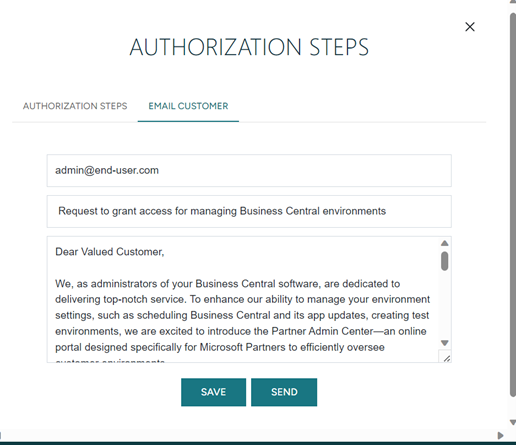
You can also use the built-in “Email customer” feature to request granting consent. This feature will send email to your customer from noreply@partneradmincenter.com
Fields under this page:
- Cust. Admin Email – enter your customer’s global administrator user’s email. This user will be granting consent. If you entered customer’s email during Setup, this field will be prepopulated.
- Email title – enter the title for the email. It will have a prepopulated value that you can change and save your changes.
- Email body – enter the body of email. It will have a prepopulated value that you can change and save your changes. Make sure to include the URL for granting admin consent.
important
Dynamics 365 Administrator role will not be sufficient for granting admin consent. You have to either have the role of Global Administrator or Cloud Application Administrator in customer’s tenant or ask customer to grant consent.
4. Run Global Sync
Run Global Sync for all customers or individual Sync for the added customer to start populating data. Once the Sync is done, please refresh your browser to reflect changes.